OP
OP
- Thread starter
- #41
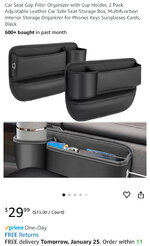
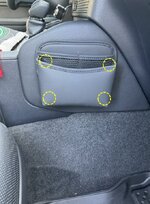
@tony1133 gave it to me, he got two and found it doesn’t work well on the driver’s side. I’m not sure where he got it. Edit to add: it tucks in next to the seat, it's not attached.Not to derail this thread (great write-ups by the way), but I couldn’t help but notice the storage pouch that you have mounted to the passenger side of the console in one of the pics above. Would you mind sharing where you sourced that from?
Last edited: