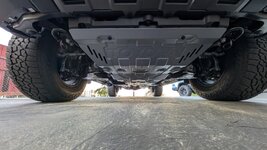
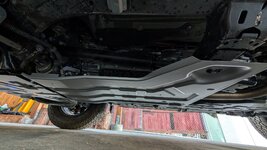
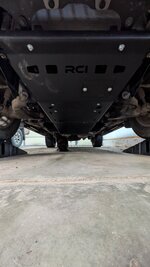
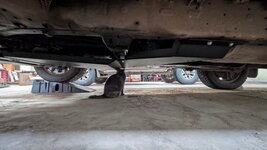
Does this slide in any further? (Next hole?) I was looking at this, but would want it sitting deeper.Added the Reno Hitch Slider and D Ring Shackle! Just a bit of fun, but like the look! View attachment 22823
Navigation
Install the app
How to install the app on iOS
Follow along with the video below to see how to install our site as a web app on your home screen.
Note: This feature may not be available in some browsers.
More options
You are using an out of date browser. It may not display this or other websites correctly.
You should upgrade or use an alternative browser.
You should upgrade or use an alternative browser.
🛠️ What Have You Done To Your LC250 Today?
- Thread starter pnwlandcruiser_
- Start date
Took it out into some snow! Fun times.

- Dec 22, 2024
- 20
- 18
- Vehicles
- 2025 LC Premium, 2009 Jeep JK Rubicon, 2024 TRD PRO 4Runner, 2022 TRD PRO Tacoma
Gotta link I need those when I upgrade suspension!Added billet aluminum lower control arms with oem type bushings.View attachment 23474
Where did you find the arm rest?Extended door arm rest, ditch light brackets with Baja’s, rock sliders, Garmin PowerSwitch, and rear cargo upper shelf with Baja dome light, just to name a few…
I made them. I have a couple extra sets, but I'm not sure I'll be selling them.Gotta link I need those when I upgrade suspension!
Another option that will most likely work are these from superior engineering
200, 250, and 300 arms are all the same length and have the same mounting dimensions. 200 series bushing are a little bigger in diameter. I'm using 200 series bushings in my arms.
It’s made by CA Tuned Offroad. They should be having it listed on their site very soon!Where did you find the arm rest?

Land Cruiser
Upgrade your off-road adventure with CAtuned Off-Road! Discover our top-quality off-road accessories and equipment, from bumpers to lights and beyond. Explore our selection today and experience the ultimate thrill of off-roading!
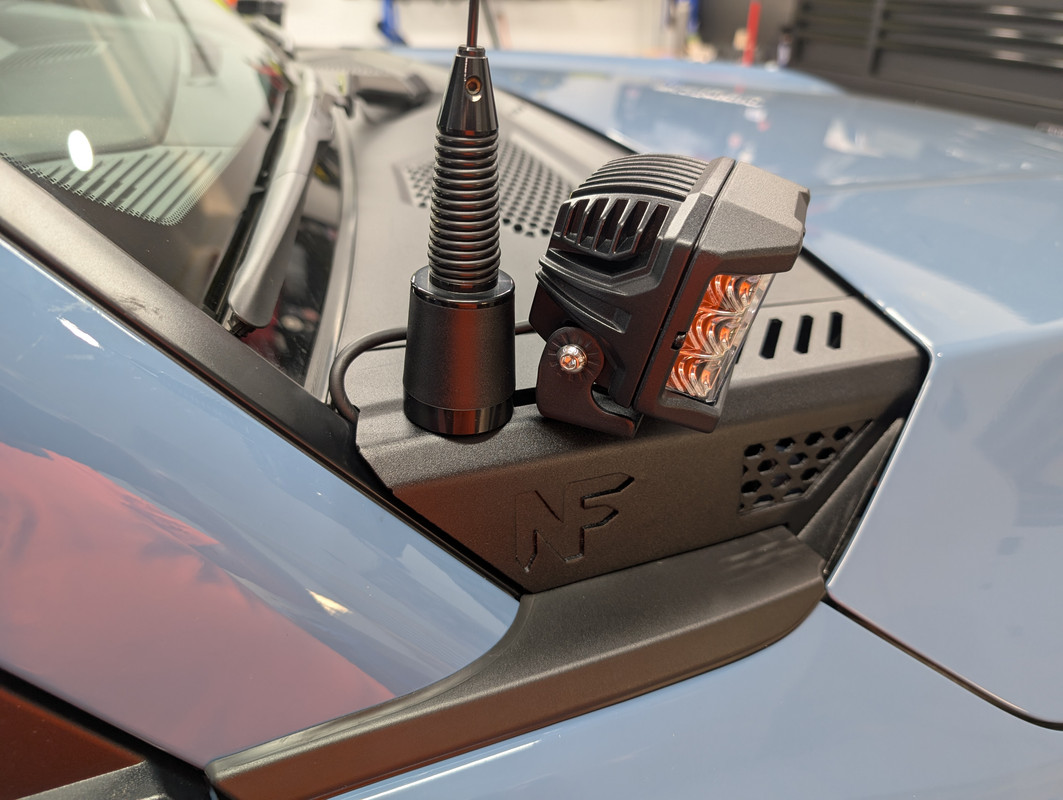
where did you source your Garmin? Seem like this one would work and it is way cheaper than the rest. Your thoughts?Installed some ditch lights, the Nashfabco brackets, and a Garmin Powerswitch.
I agree with what others said elsewhere on the forum, the nashfabco brackets are way over priced for what they are, and although my tabs didn't break, they will eventually if/when I take them off a few more time.
THAT BEING SAID, I think they look great and currently, they are meeting my need to mount lights AND an antenna. They also provide additional engine compartment venting, though it probably doesn't need it.
I went with the Garmin Powerswitch because while spendy, not running wires through the firewall is priceless to me. I'll eventually add other accessories to it, but for now, it's just the ditch lights.
Fortunately everything you need to install it is in the engine compartment, power and a ground.
Based on a photo posted by another member, I decided to mount it on the passenger fuse box cover and that turned out great because the battery power and ground is nearby.
I used the power towards the front of the truck.

I cut a very tight hole through the cover, and loaded up the connection with dielectric grease for a little extra protection due to that hole. I will follow up and put some silicone sealant around it eventually.

Factory ground point on passenger side, conveniently ran the switch and busbar ground here.

I'm sure I could have made the wiring prettier, but I wanted to leave enough slack and such that the cover could still be removed and set aside without disconnecting anything and that's what I've achieved.

For the lights, I'm giving these lights from Harbor Freight a whirl for 85 bucks. I've had Rigid before, and I can't tell a difference in quality. Time will tell.

And here they are on the brackets. I gave a test drive tonight and now I understand how useful these lights will be, not just for offroading.

And the side with the antenna.
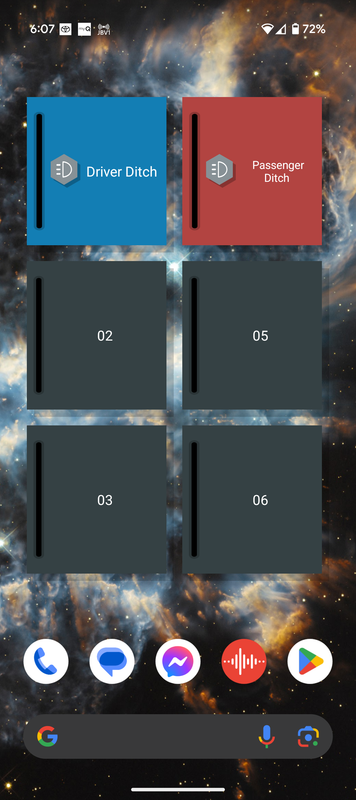
Screenshot of the powerswitch. I wired the lights separately so I could turn them on independently depending on need.
Oh and I installed hoot struts. Should have came with them.

Productive day!

Garmin PowerSwitch Ready To Run Kit - Toyota Tacoma/ 4-Runner
Ready to roll, plug-and-play Garmin PowerSwitch Kit. Works with 4th/5th gen 4-Runner, 2nd/3rd gen Tacoma and Lexus GX470, Lexus GX460 EASY install. Our complete kits come pre-assembled, and ready to install. Typical customer install time is under 30 minutes.
blazeoffroad.com
where did you source your Garmin? Seem like this one would work and it is way cheaper than the rest. Your thoughts?

Garmin PowerSwitch Ready To Run Kit - Toyota Tacoma/ 4-Runner
Ready to roll, plug-and-play Garmin PowerSwitch Kit. Works with 4th/5th gen 4-Runner, 2nd/3rd gen Tacoma and Lexus GX470, Lexus GX460 EASY install. Our complete kits come pre-assembled, and ready to install. Typical customer install time is under 30 minutes.blazeoffroad.com
I'm not sure what you're showing me. The full kit with the power switch at that link is $810 dollars.
They sell the garmin by itself for 500.

Garmin PowerSwitch™
Garmin PowerSwitch At Blaze Off-Road, we have worked with a number of switching systems over the years, and the Garmin PowerSwitch has been an amazing unit, with tons of neat features, and so far, the best reliability and ease of use for any system on the market. Some features: No running...
blazeoffroad.com
I bought mine at Amazon.
Justin I didn't see that what they posted is $200 for a buss bar a bracket and a small fuse block. Which is kind spend given that might be $50 worth of stuff. I see the drop down. One last question. Did you wire your stuff up through a relay? Thanks in advanceI'm not sure what you're showing me. The full kit with the power switch at that link is $810 dollars.
They sell the garmin by itself for 500.

Garmin PowerSwitch™
Garmin PowerSwitch At Blaze Off-Road, we have worked with a number of switching systems over the years, and the Garmin PowerSwitch has been an amazing unit, with tons of neat features, and so far, the best reliability and ease of use for any system on the market. Some features: No running...blazeoffroad.com
I bought mine at Amazon.
Justin I didn't see that what they posted is $200 for a buss bar a bracket and a small fuse block. Which is kind spend given that might be $50 worth of stuff. I see the drop down. One last question. Did you wire your stuff up through a relay? Thanks in advance
No just to the ground and power point shown in the photos.
where did you find that light? thxMinor tweak, but got some additional illumination in the cargo area. Bit of a pain shaking the wire, but worth it imo. It’s touch on/off like the lamps up front.
Source?Added the Reno Hitch Slider and D Ring Shackle! Just a bit of fun, but like the look! View attachment 22823
Source?

RENO Hitch Slider, 2" Receiver Hitch Slider Skid Protection
hitch receiver | Hitch Slider | 2" Receiver Hitch Slider Skid Protection | 2" Receiver Hitch | Hitch protection
 renoallroads.com
All their stuff is on Amazon too.
Stickerfab - OSD Trunk Liftgate Lamp (OE Style) - 2024+ Land Cruiser / GX 550where did you find that light? thx
Removed my running boards (step 1 in installing rock sliders).
Question for the 1958 folks: does the underside of your trim piece look like this, or is there some additional trim piece that clips on if you don’t have the running boards? That’s a lot of little pockets to store mud in.


Question for the 1958 folks: does the underside of your trim piece look like this, or is there some additional trim piece that clips on if you don’t have the running boards? That’s a lot of little pockets to store mud in.
These look awesome!
Similar threads
- Replies
- 4
- Views
- 1K
- Replies
- 6
- Views
- 2K
- Replies
- 155
- Views
- 13K
- Replies
- 48
- Views
- 19K
- Replies
- 3
- Views
- 1K
