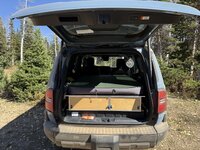
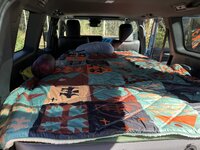
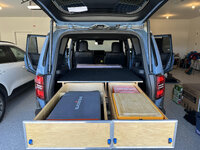
First part of getting this ready for camping was to get some drawers and a sleeping platform. I learned a lot along the way, made several mistakes, and had to pivot away from my original plan a few times so forgive the crudeness of some feature implementations.
Next on the list is a swingout setup for the hitch to mount a propane tank, rotopax, and a fold down table. Currently debating if it is worth building that or if I will just buy it.
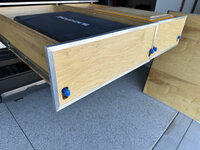
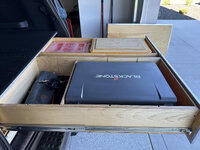
- Drawer Box:
- 3/4" cabinet grade plywood for the left and right vertical supports, and the top of the platform
- 1/2" cabinet grade plywood for the rest of the platform
- All plywood is cleared in a spar urethane (this might have been a mistake, 2 weeks later and it is still off-gassing)
- Heavy Duty lockout slides
- Marine Carpet for top of the platform and the sleeper extension
- Carpet is glued on with adhesive spray and framed in aluminum angle
- Drawer fronts are framed in aluminum channel (had to narrow the edges of the drawer fronts to slip the channel over)
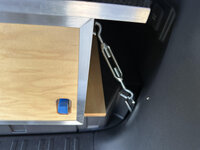
- Rear most of the box is mounted with turnbuckles to the factory tie downs
- For the front of the box, I removed the factory tie downs to utilize their bolting point.
- I tried using turnbuckles for the front but the positioning of them left the box prone to flipping up in an accident. The front bolt solution is so strong I probably don't need the rear turnbuckles but why not!
- Sleeper Extension
- 3/4" cabinet grade plywood wrapped in marine carpet and framed in aluminum angle again
- Currently attaches via dropping into 4 dowels on the main box platform (exploring other options, I might put aluminum channel on both the extension and platform with a bit of weather stripping to make it easier to drop into instead of lining up the dowels.)
- For my trip this weekend I have two strips of insulation board that will rest on the seat and then the engine side of the sleeper will rest on the foam
- I am not sure what I am going to do long term. I could mount a vertical board that just sits on the seat backs but then I will not have a flat cargo surface when I slide the extension back to put the rear seats up. I have also looked into running some aluminum piping down to the floor with some sort of foot to spread the weight but idk.
Next on the list is a swingout setup for the hitch to mount a propane tank, rotopax, and a fold down table. Currently debating if it is worth building that or if I will just buy it.
Attachments
-
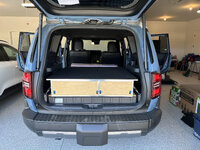 Platform 1.jpg480.9 KB · Views: 540
 -
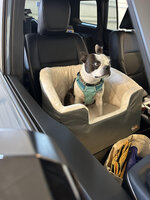 Peanut 1.jpg295.9 KB · Views: 277
 -
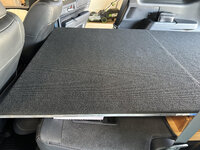 Extension 3.jpg618.1 KB · Views: 243
 -
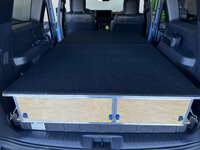 Extension 2.jpg360.1 KB · Views: 230
 -
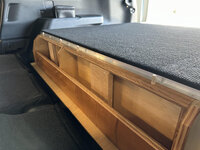 Extension 1.jpg361.9 KB · Views: 229
 -
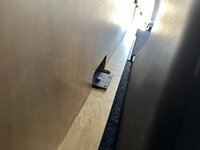 Mounting 2.jpg201.1 KB · Views: 221
 -
 Mounting 1.jpg222.7 KB · Views: 214
 -
 Drawers 2.jpg287.3 KB · Views: 219
 -
 Drawers 1.jpg371.6 KB · Views: 236
 -
 Platform 2.jpg425.2 KB · Views: 266
