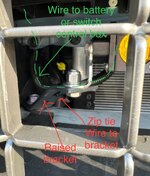
Bringing this post over from the FB group.
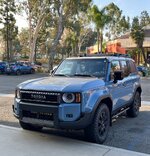
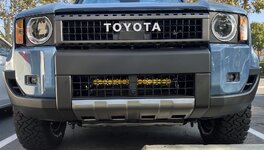
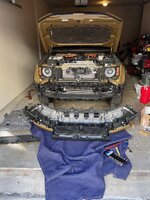
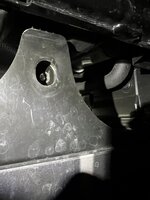
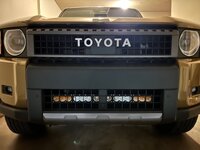
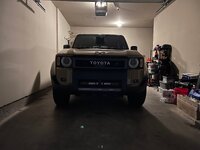
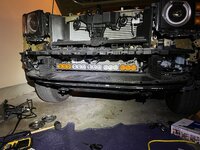
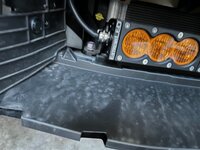
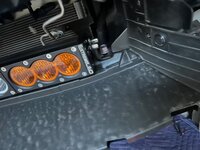
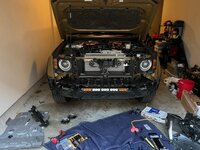
Found the nearest to perfect length light bar for the existing bolts in the lower grill. No drilling or cutting. I just had to dremel the bolt holes a lil bit on the light bar bracket to fit the larger oem bolts through and smack the bracket ends with a mallet a few times to bring into existing bolts width.
This took about 5 hours from start to finish and was a lot of work.
Some tips to help you save time:
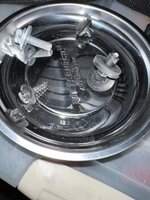
1. Don’t start with a cheap $10 harbor freight dremel so you have to bike to Home Depot and get a quality one when it melts.
2. Don’t use an impact, you will snap bolts off.
3. If you have a first edition like mine or other skid plates, put the front on jack stands. I spent more time under the car than I expected.
4. Use really really really good bolt organization. I have 1 plastic trim piece and 1 screw left over idk where they go lol.
This is the x6 28 inch light bar from extreme LED. They have good discount codes including 15% off when you create an account and 10% rewards for account holders. Their customer service is also extremely amazing when I called a couple times.
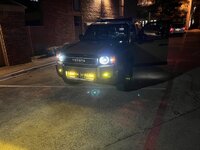
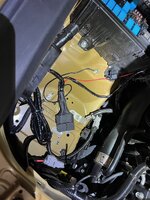
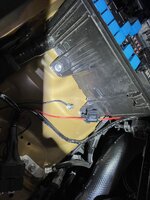
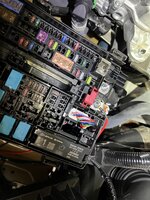
The amber only should look pretty slick at night. I didn’t have the time to do the electrical today but will post some night time pics when I get that done. This one does have 2 separate switches for the outside amber and inside beams.
I plan on having Toyota clean up the broken bolt and left over screw/trim piece when I do my 5000 mile maintenance in about 1000 miles if I cant figure it out but its on there sturdy as OEM with all proximity, cross traffic sensors functioning properly. (I know the left over silver bolt goes on the back part of the front skid plat, was just tired at the end of the night lol)
If anyone wants to detail the front fender flare/wheel well screws and trim pieces for me. maybe I can figure out where those extra 2 pieces go. The Ed Martin headlight replacement video I followed on YT doesn't detail it very well and kinda dark during that part.
Attachments
-
 IMG_4991.jpg747.8 KB · Views: 227
 -
 IMG_5004.jpg647.2 KB · Views: 194
 -
 IMG_4996.jpg328.1 KB · Views: 194
 -
 IMG_5001.jpg200 KB · Views: 214
 -
 IMG_4999.jpg188.6 KB · Views: 204
 -
 IMG_4995.jpg468.2 KB · Views: 186
 -
 IMG_4994.jpg307.5 KB · Views: 179
 -
 IMG_4993.jpg307.1 KB · Views: 190
 -
 IMG_4992.jpg443.4 KB · Views: 198
