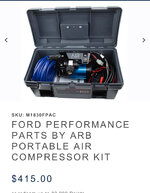
Sold my problematic Bronco 6g was left with ARB'S Portable CM-1830-FPAC (got it on Sale Memorial day for $299) and figured I'd give it a proper and permanent home in my Land Cruiser
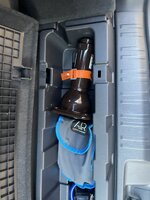
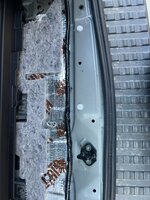
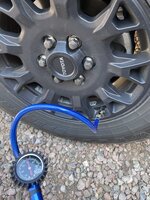
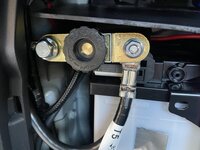
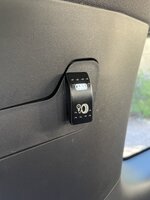
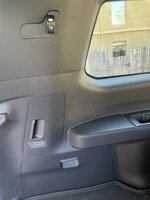
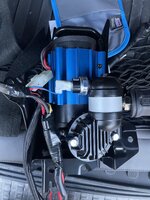
Removed compressor from the plastic box>took it mostly all apart separating the swiitch>Removed paneling>Removed Hydraulic Jack and it's metal housing> lot's of navigating/tetris>finally decided best place Air Compressor to go in jack's housing vs other options>used 1800 deg carbon cloth in-between base of Jack housing and compressor to prevent any rattle , 3 metal zip ties and secured compressor in Jack Housing* valve pointing forward> extended switch's wiring about 3' with solderer extra cable & housing>cut ARB battery clamps> extend red and black battery cable and solder O rings>re-attached switch (be sure to place the male yellow, red and black wires back in their original female ends of switch or you'll fry the wiring)>re-mounted Hydraulic Jack/Compressor with Valve pointing to driver>repositioned 3 circuit mount with 15lb velcro>secured Jack housing to original location with compressor> Dremmeled little semi-L shaped plastic along panel to fit Switch tight>attached hose to always stay attached to compressor>mounted black 1/8" plexiglass cut to approx 6"/9"w x 16"L to fit approve the battery to store the hose>attached side lack battery disconnect for added safety incase switch gets turned on accidentally when trunk's full>moved Hydraulic Jack to lower trunk storage compartment-dremmelled notches and holes and ski strap to secure and kill mat to place between metal flooring and where jack notches out for added proection (jack does not touch floor).
Tools and hardware I can remember : jig saw, solder, dremmel, pry bar (to break off rivets holding compressor in box), 14 gauge red, black and yellow wires, joiners, plastic wire heat covers, 1800 degree carbon cloth, 3 metal zip ties, 15lb velcro, 16" plexiglass glass sheets, 3 straps, killmat. All the panels covers are easy to take on and off between uses. Took some time navigating,, but happy with the results
Attachments
-
 IMG_6297.jpeg575.2 KB · Views: 97
 -
 IMG_6391.jpeg317.4 KB · Views: 79
 -
 IMG_6390.jpeg392.6 KB · Views: 77
 -
 IMG_6385.jpeg379 KB · Views: 71
 -
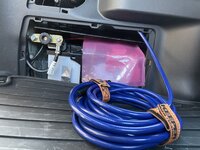 IMG_6376.jpeg376.4 KB · Views: 75
 -
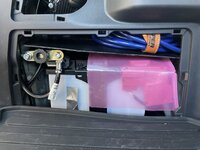 IMG_6377.jpeg330 KB · Views: 77
 -
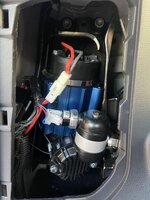 IMG_6378.jpeg309.7 KB · Views: 79
 -
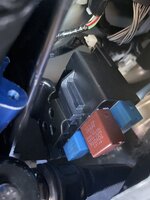 IMG_6381.jpeg259.9 KB · Views: 76
 -
 IMG_6380.jpeg294.4 KB · Views: 77
 -
 IMG_6386.jpeg331.4 KB · Views: 76
 -
 IMG_6389.jpeg317.9 KB · Views: 77
 -
 IMG_6287.jpeg354.8 KB · Views: 73
 -
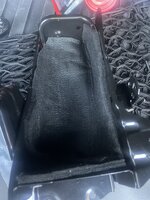 IMG_6286.jpeg392.6 KB · Views: 68
 -
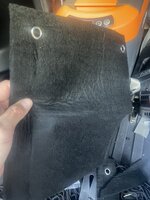 IMG_6285.jpeg313.1 KB · Views: 71
 -
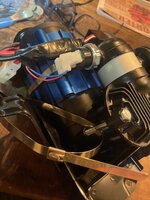 IMG_6290.jpeg311.4 KB · Views: 71
 -
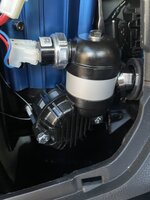 IMG_6383.jpeg263.4 KB · Views: 74
 -
IMG_6384.mov10.8 MB
Last edited:

