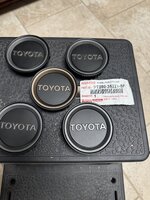
Ordered some of the bronze ones, those look nice. Planning to spray paint them with rustoleum metallic flat soft iron, that looks like an almost identical match to the top of the grill. Think i will 3d print a mask to paint them, will see how that goes.

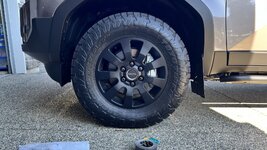
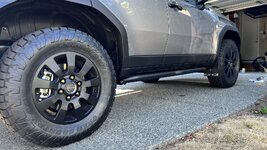
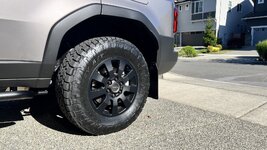
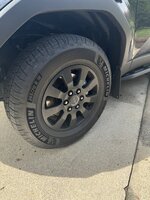
The owners manual shows them just prying off from the outsideSo I thought they would pop off easily like the 5th Gen 4Runner but the LC wheels don’t have the same slot. Has anyone worked out an easy way to get the caps off without removing the wheels? The BAM ones I ordered are arriving tomorrow.