Ladder Frame bug deflector arrived from Japan today. Total cost was approx $350 CAD or $250 USD.
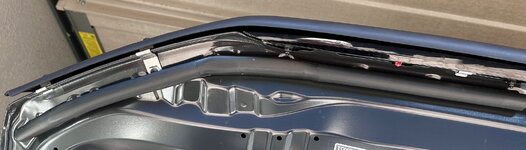
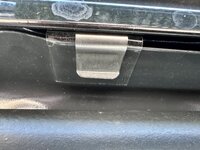
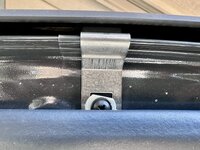
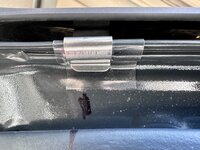
Installation took about a half hour... I took my time and tried to figure out the drawings (installation instructions). Eventually I did get it. No issues installing the bug deflector.

Installation took about a half hour... I took my time and tried to figure out the drawings (installation instructions). Eventually I did get it. No issues installing the bug deflector.