I don't have a lot of complaints about the LC250, but I was immediately disappointed with the floor covering the battery and was hoping someone would come along with a replacement, and TrekboxX did just that. It's expensive, but I was lucky enough to get it before the price increase and they have a military discount if you ask them. They did tell me they had to raise the price because it's expensive to ship, and "free shipping" is included (really, it's baked into the price). I don't intend on using the rest of their system.

 www.trekboxx.com
Anyway, I got around to installing it today so I thought I would post about the install. The instructions are pretty basic but if you're able to use hand tools, you can handle this install.
It took me 90 minutes, and some of that was spent figuring out how to get the OEM floor out.
Tools you'll need;
The first step of the instructions is to remove the OEM floor bits. After poking and prodding, I found that the OEM floor bits are mostly held in with standard interior clips and with the right amount of persuasion, they just pop out.
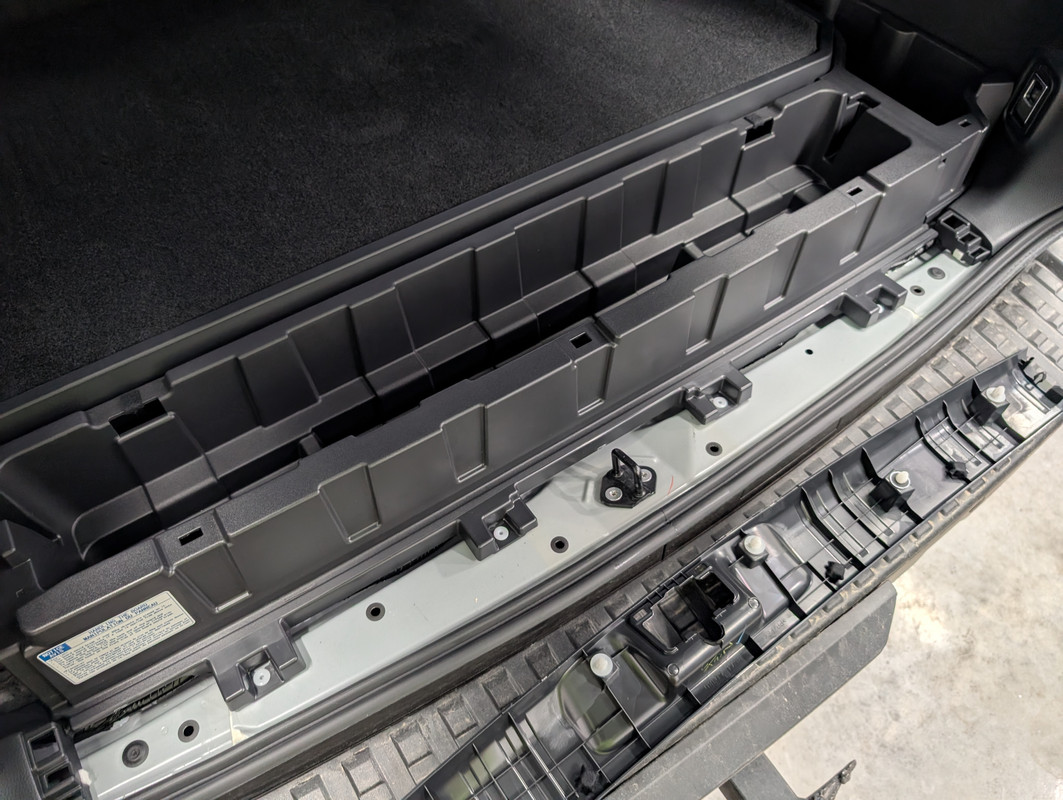
First, though, you can remove the main floor piece by removing these two 10mm bolts, and giving it a tug to release the clips.

Then simply pop out all the plastic piece around the battery.
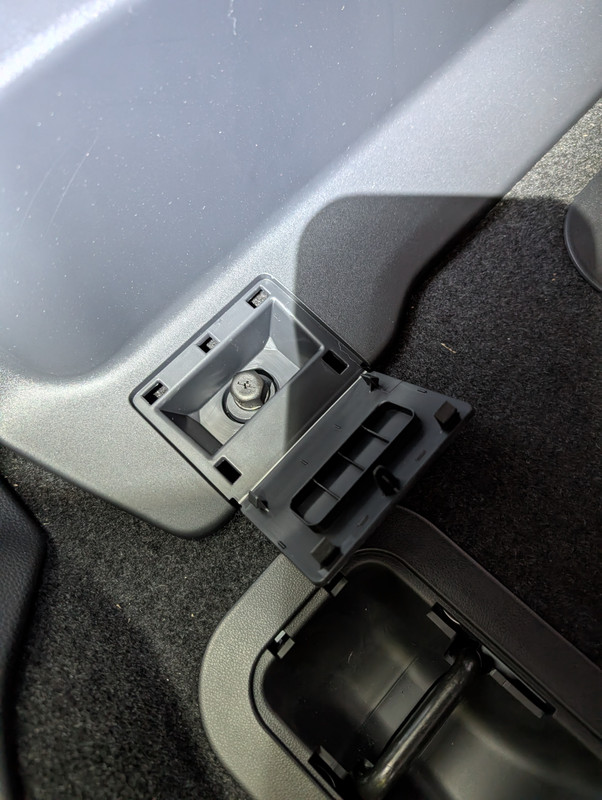
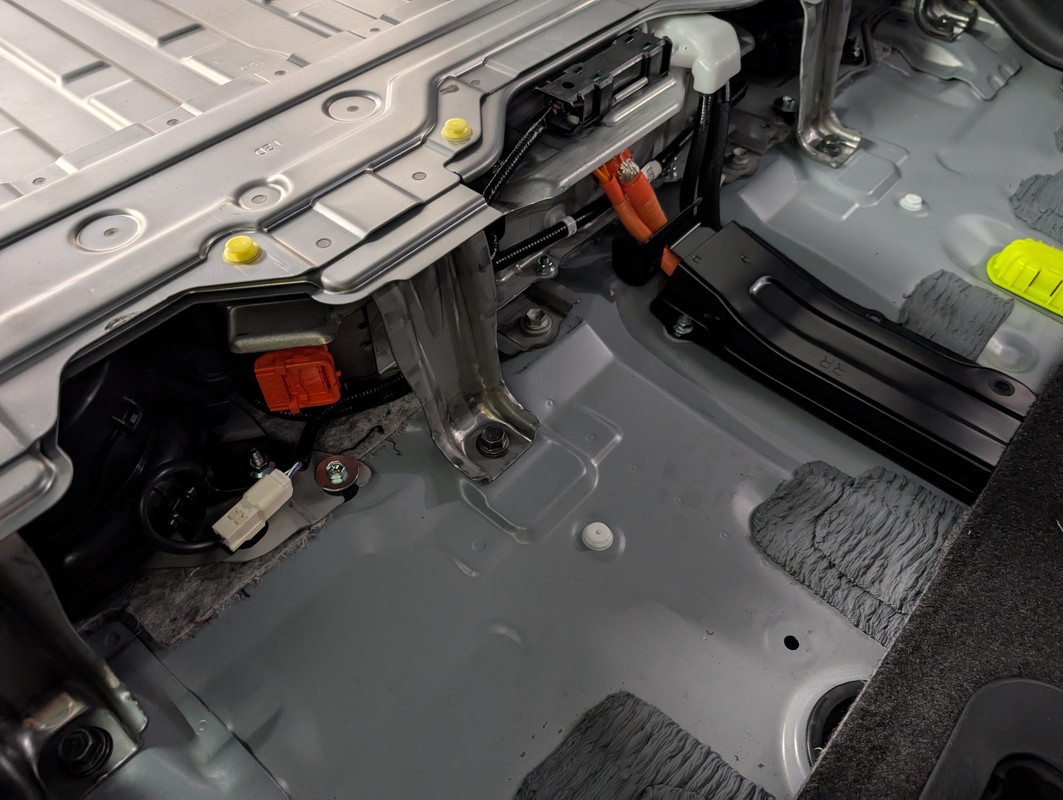
For the piece in front of the battery under the back seats, there's these little covers with plastic nuts which are hand tight and easily removed.
To remove the cubby near the hatch, you'll need to pop off the rear hatch trim, but save this, you'll immediately reinstall it.
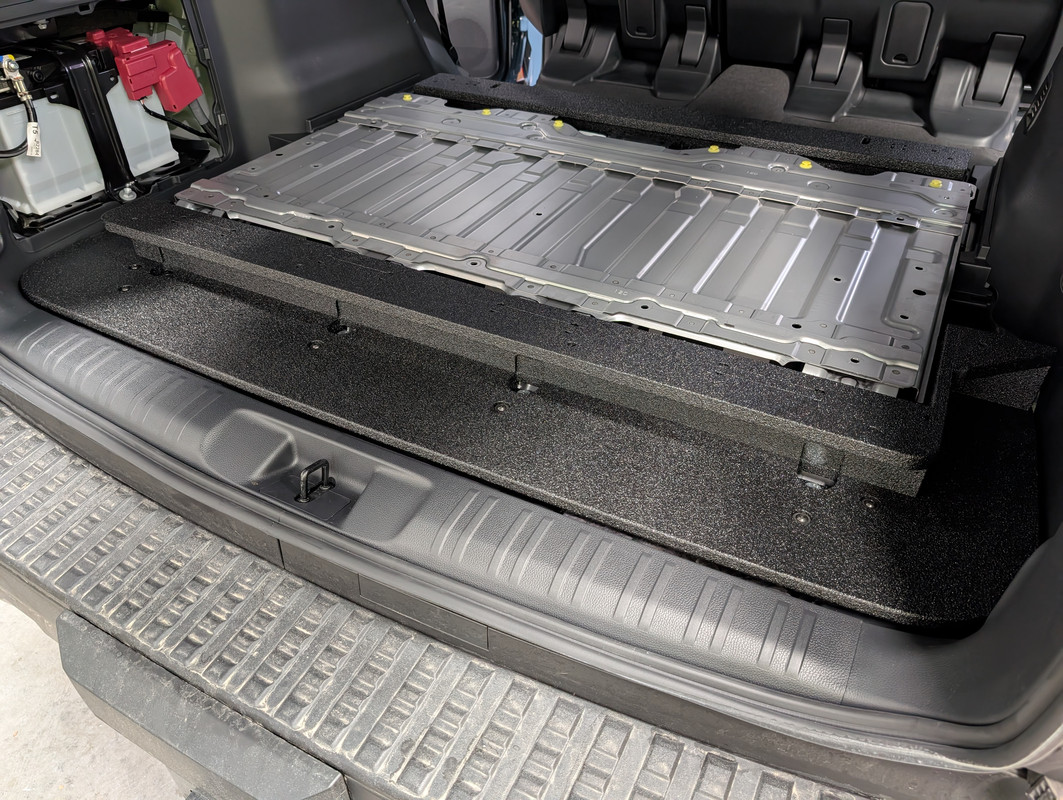
Again, all the cubbies and plastic bits just pop out with the exception of that noted above, so I didn't take a bunch of pictures popping things out. Then begin installing the new deck.
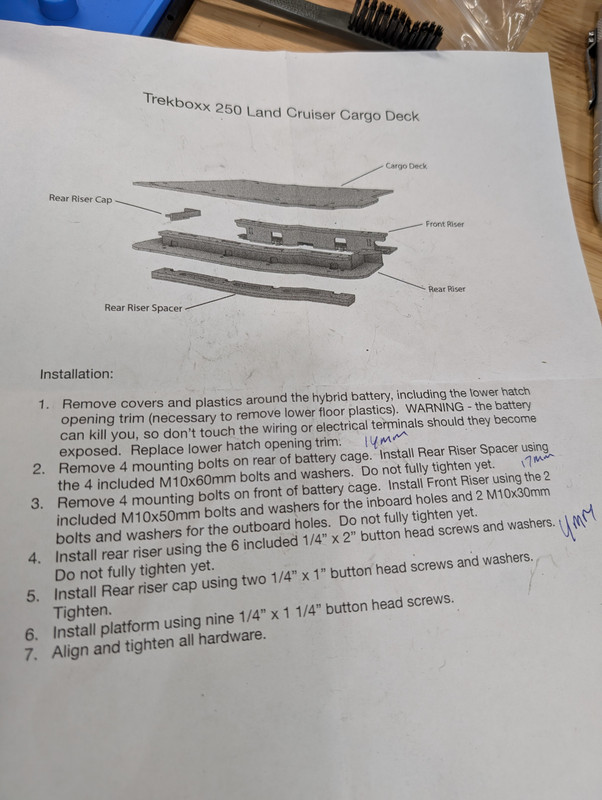
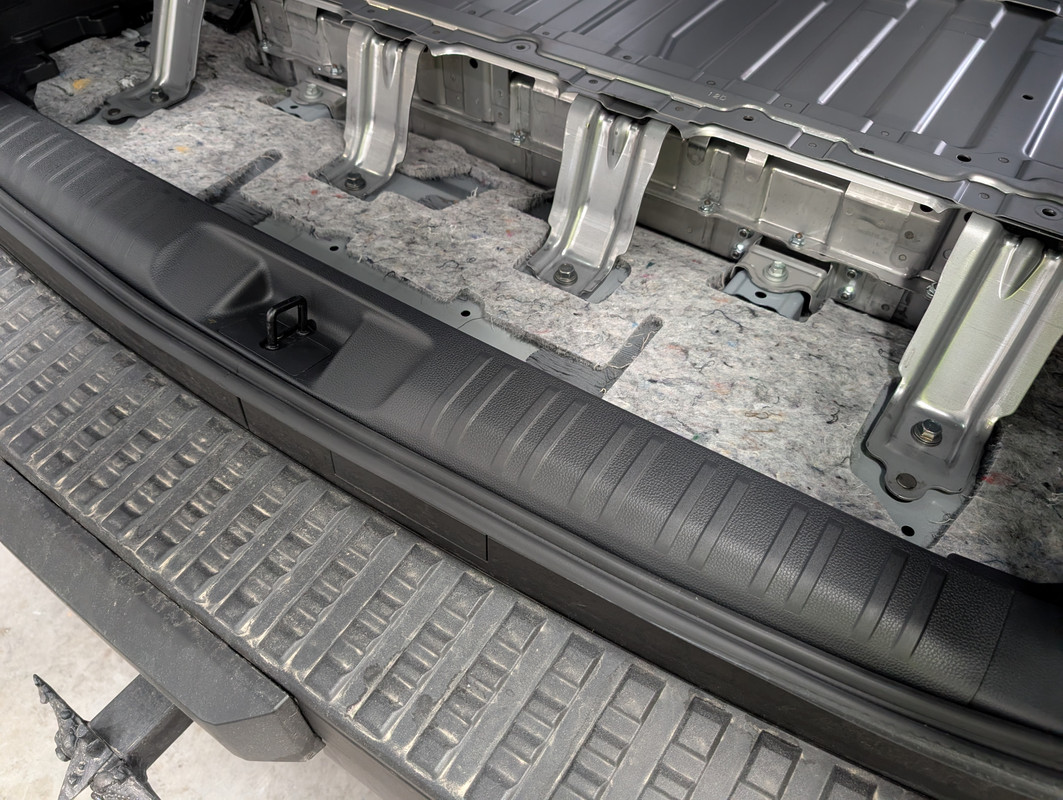
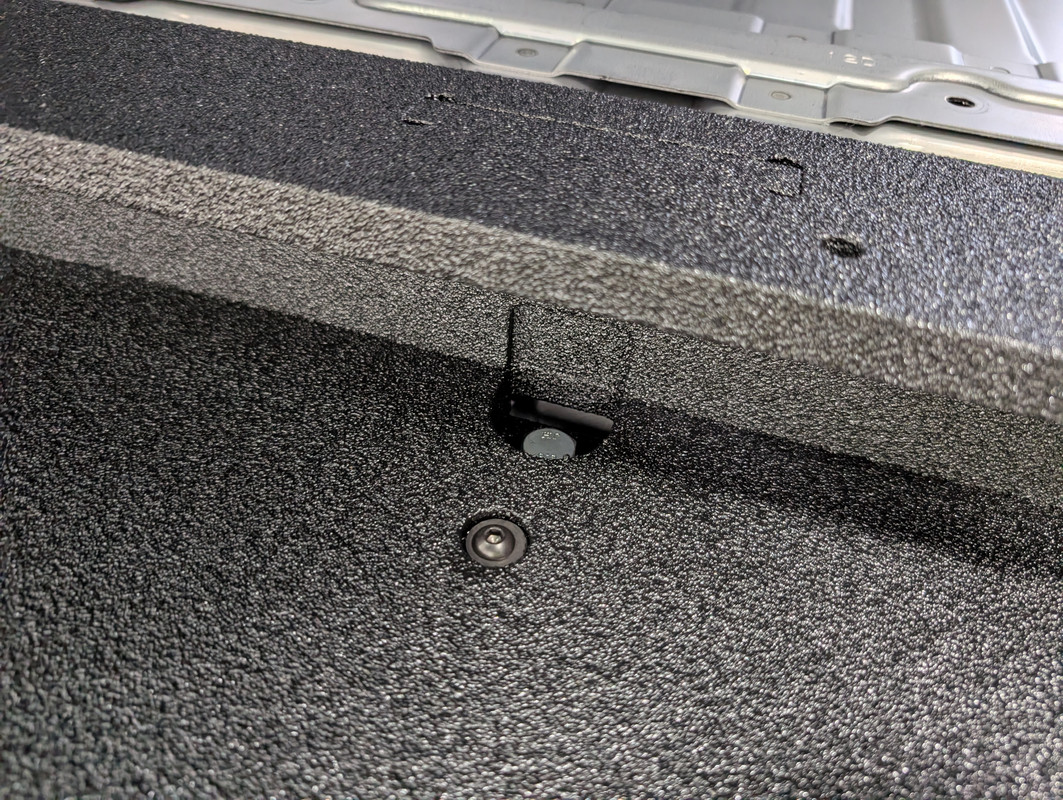
Remove the 4 bolts holding down the battery cover in the rear, and install the rear spacer. OEM bolts are 14mm, new bolts are 17mm.
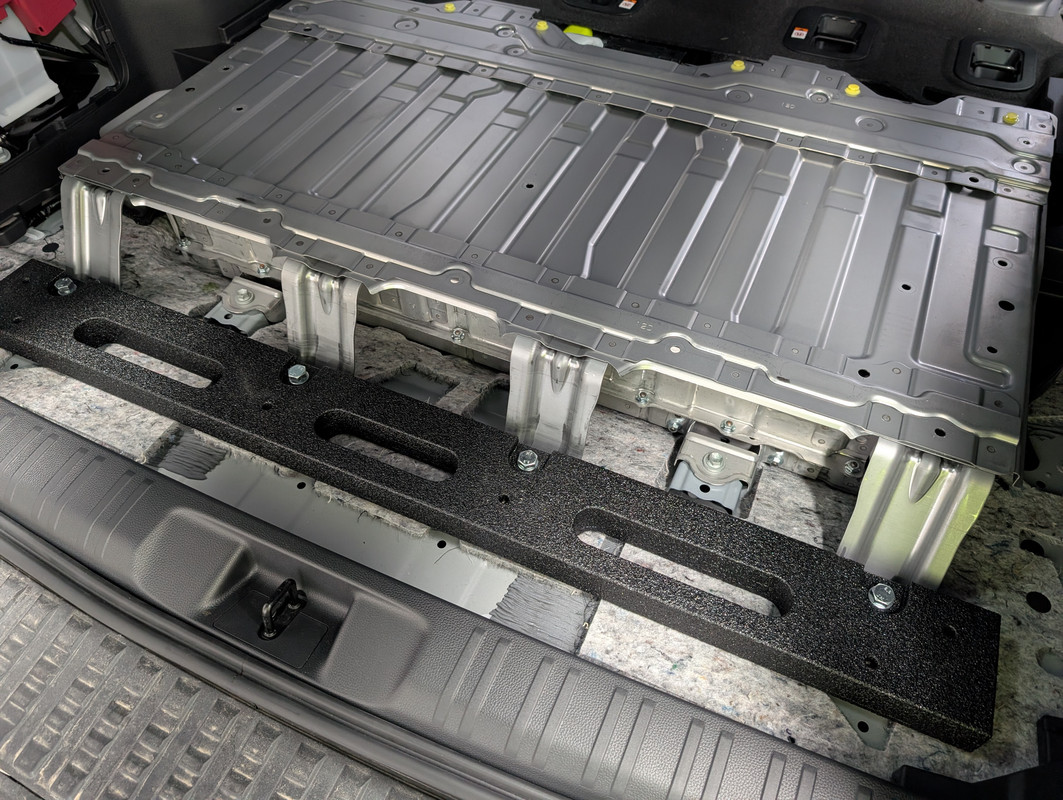
Same thing now for the front riser, 14mm OEM, 17mm new bolts, but for the front, there's two longer bolts for the inboard holes and two shorter bolts for the outboard holes.
Next install the rear riser onto the rear spacer using the six 2" screws which take a 4mm hex.
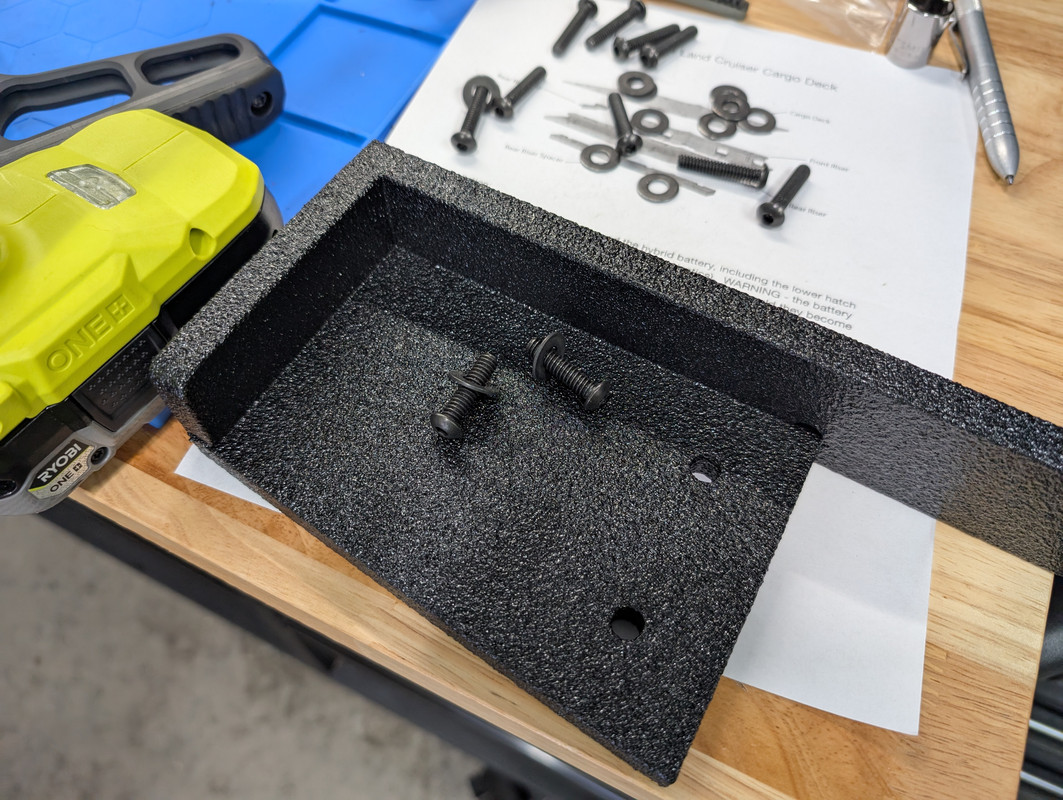
Then install this small riser cap, or cubby tray, near the battery using two 1" screws, 4mm hex.
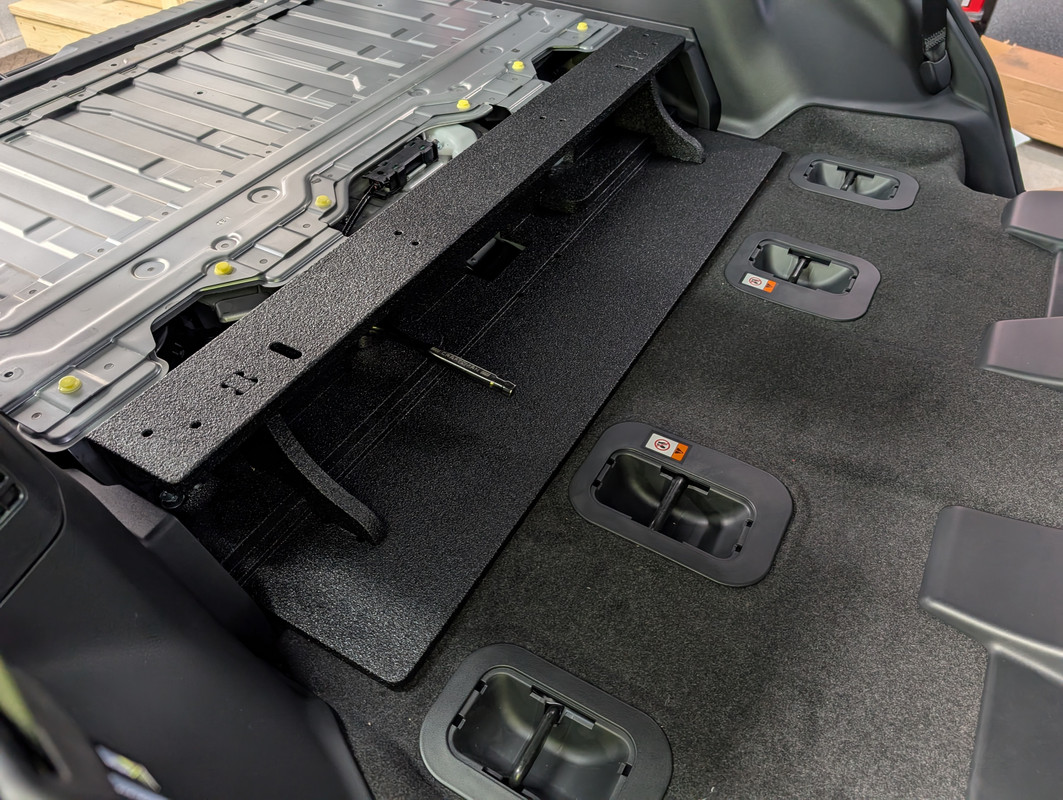
Then install the floor with 9 screws, 4mm hex.
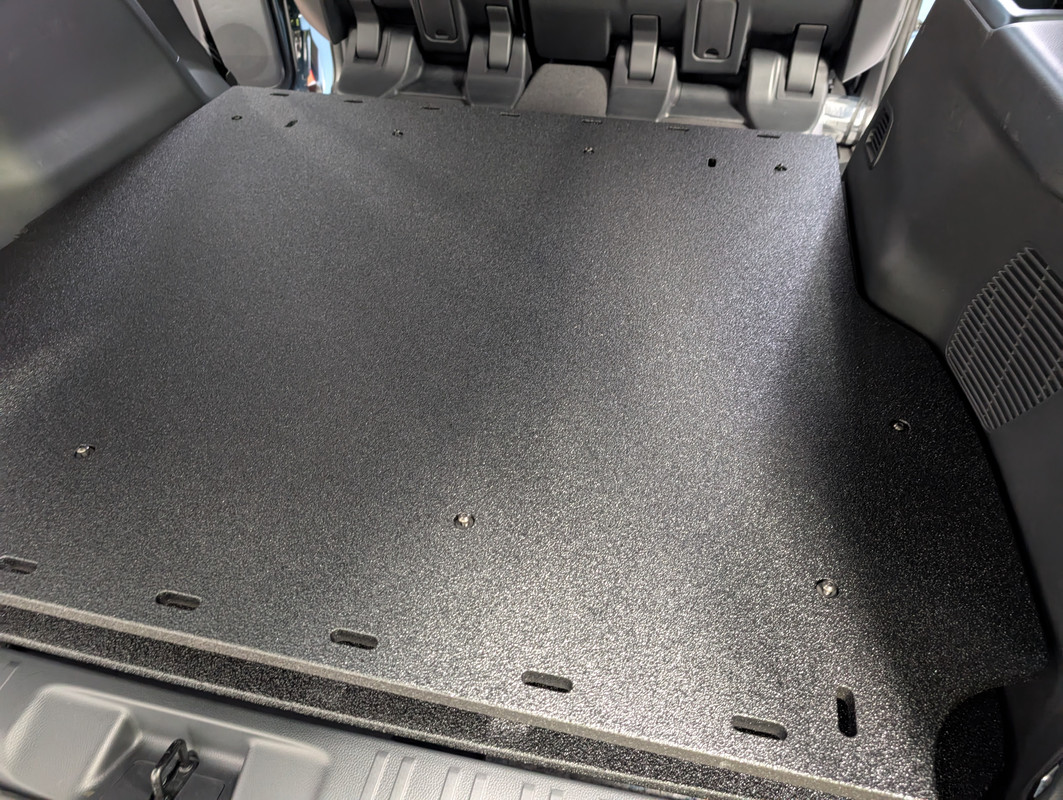
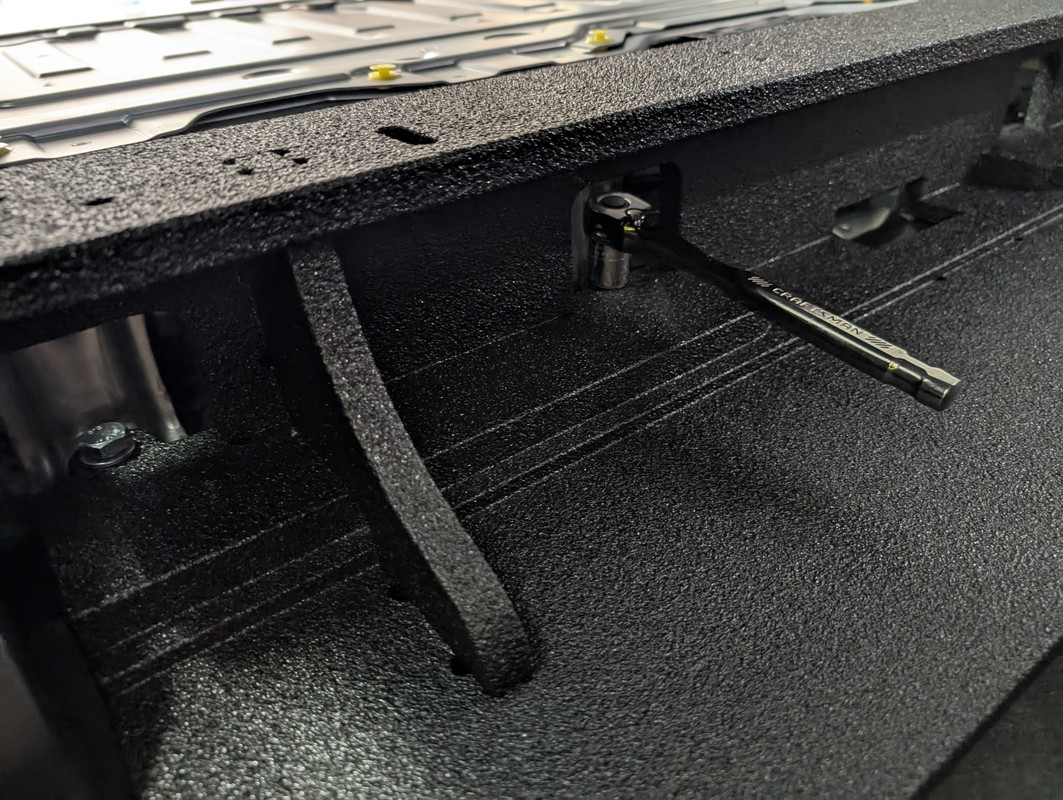
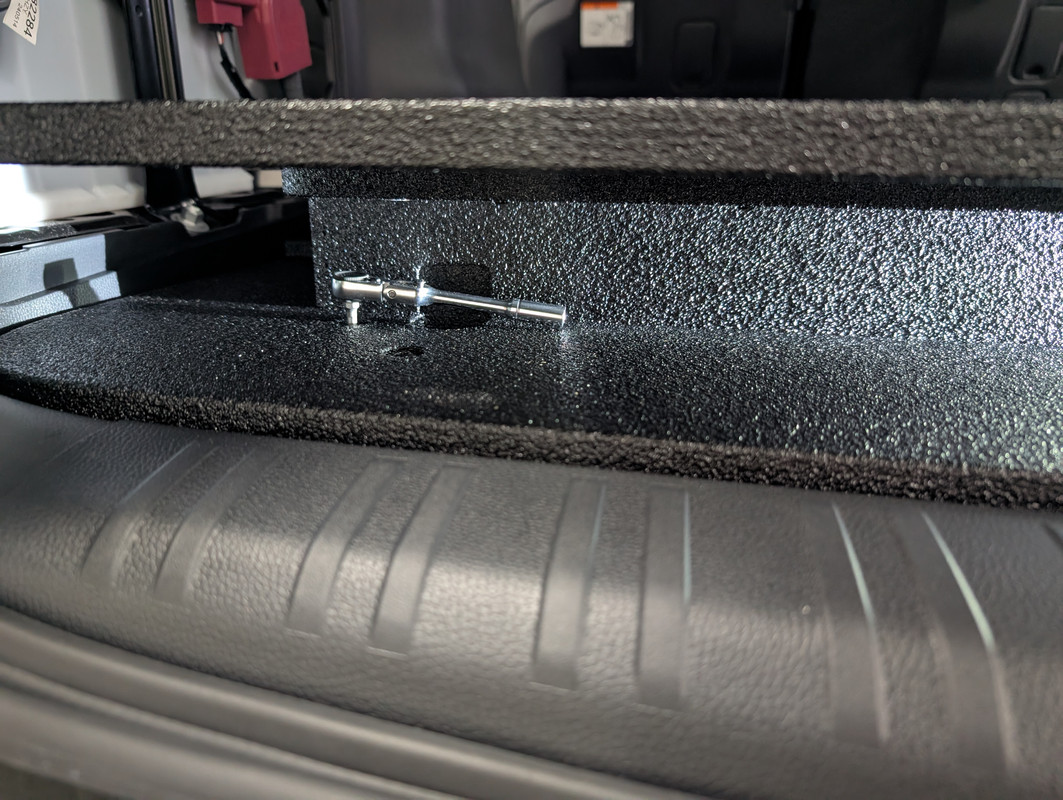
Tighten everything down. One thing I like about this design already is that you can get to all the mounting hardware once it is installed.
This is a good use of one of those mini ratchets (this one is Harbor Freight) for these hex heads.
250 cargo deck — TrekboxX Expedition Systems
www.trekboxx.com
Anyway, I got around to installing it today so I thought I would post about the install. The instructions are pretty basic but if you're able to use hand tools, you can handle this install.
It took me 90 minutes, and some of that was spent figuring out how to get the OEM floor out.
Tools you'll need;
- Ratchet
- 17mm socket
- 14mm socket
- 10mm socket
- 4mm hex key (allen key)
- Trim removal tools
The first step of the instructions is to remove the OEM floor bits. After poking and prodding, I found that the OEM floor bits are mostly held in with standard interior clips and with the right amount of persuasion, they just pop out.
First, though, you can remove the main floor piece by removing these two 10mm bolts, and giving it a tug to release the clips.
Then simply pop out all the plastic piece around the battery.
For the piece in front of the battery under the back seats, there's these little covers with plastic nuts which are hand tight and easily removed.
To remove the cubby near the hatch, you'll need to pop off the rear hatch trim, but save this, you'll immediately reinstall it.
Again, all the cubbies and plastic bits just pop out with the exception of that noted above, so I didn't take a bunch of pictures popping things out. Then begin installing the new deck.
Remove the 4 bolts holding down the battery cover in the rear, and install the rear spacer. OEM bolts are 14mm, new bolts are 17mm.
Same thing now for the front riser, 14mm OEM, 17mm new bolts, but for the front, there's two longer bolts for the inboard holes and two shorter bolts for the outboard holes.
Next install the rear riser onto the rear spacer using the six 2" screws which take a 4mm hex.
Then install this small riser cap, or cubby tray, near the battery using two 1" screws, 4mm hex.
Then install the floor with 9 screws, 4mm hex.
Tighten everything down. One thing I like about this design already is that you can get to all the mounting hardware once it is installed.
This is a good use of one of those mini ratchets (this one is Harbor Freight) for these hex heads.
Last edited:


