I got my 1958 LC on Dec. 30th 2024 and I would have to say its one of the better Toyota's I have owned. I have had 7 Toyota's over the years. I plan on doing some simple upgrades but most are going to be to just make it look good as I really don't do to much off-roading except for when I go hunting.
So far have done the following:
265/70-18 Falken Wildpeak A/T4's
20% Tint all the way around
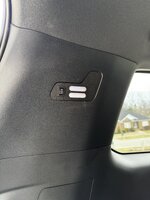
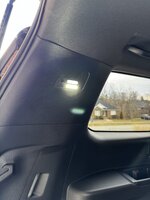
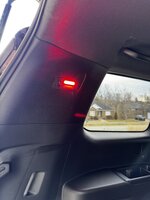
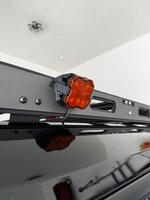
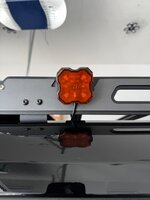
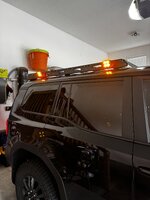
Tailgate Light
Husky Liners Front and Rear Seats
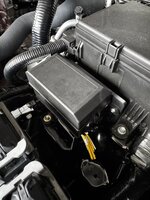
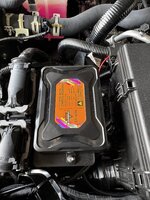
Fitcamx
New wheel center caps
Future Upgrade:
Front Bumper
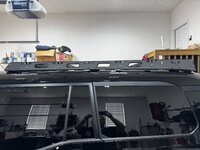
Light Bar
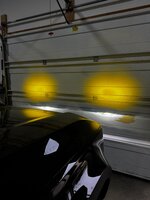
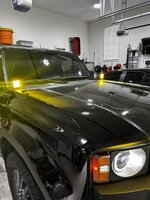
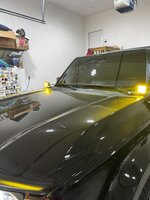
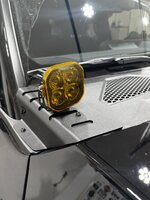
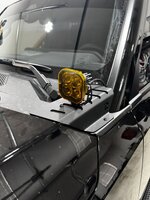
Upgraded Fog Lights


So far have done the following:
265/70-18 Falken Wildpeak A/T4's
20% Tint all the way around
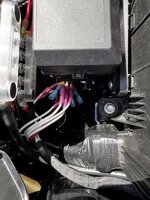
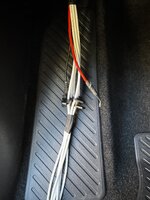
Tailgate Light
Husky Liners Front and Rear Seats
Fitcamx
New wheel center caps
Future Upgrade:
Front Bumper
Light Bar
Upgraded Fog Lights
Last edited:


 With these I am averaging about 18.6 to 18.7mpg

